
A Practical Guide to Branding & Tattooing Your Ankole Cattle
By Tinus Piater & Sally Blaine
This guide explains how to legally and correctly mark your cattle in South Africa, in line with the Animal Improvement Act, 2002 (Act 62 of 2002), its regulations, and the Constitution and Bylaws of the Ankole Cattle Society of South Africa.
Why Cattle Marking is Required
Cattle marking in South Africa is a legal requirement. Breeders must register an identification mark with the Department of Agriculture, Land Reform and Rural Development (DALRRD). This ensures ownership identification and livestock traceability.
The Ankole Cattle Society of South Africa requires that every registered animal be clearly and permanently marked with its unique registration number. This includes your herd designation mark (HDM), the year of birth, and the individual sequence number as allocated on INTERGIS.
Types of Cattle Marking
There are three recognised permanent marking methods:
- Ear Tattooing
- Hot Iron Branding
- Freeze Branding
Ear Tattooing
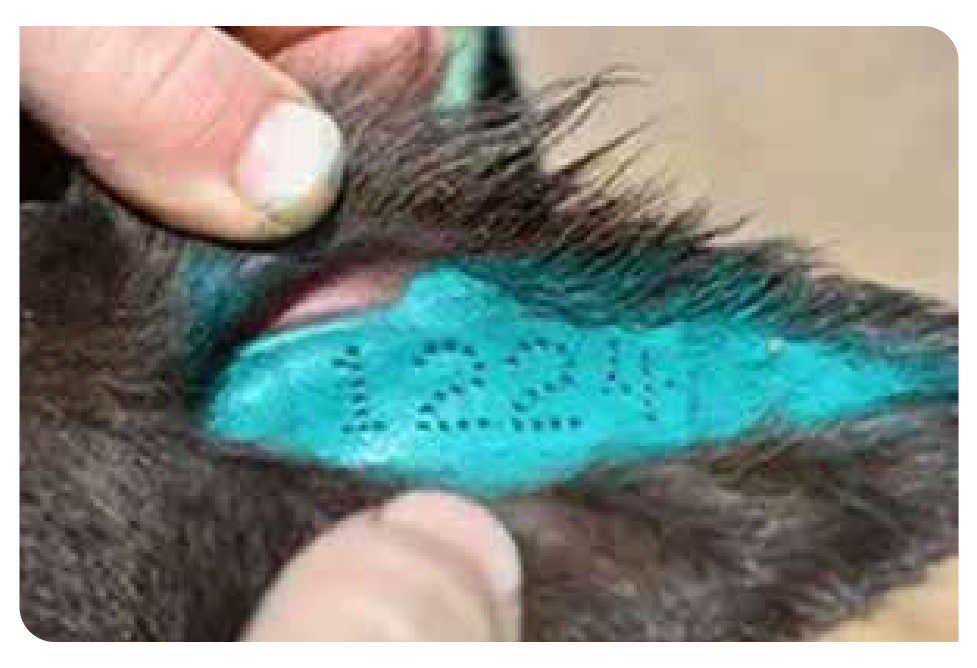
Tattooing is typically done within a few days of birth. It provides permanent identification inside the ear in case ear tags are lost.
Equipment Needed
- Tattoo applicator (tongs)
- Alpha-numeral set (letters and numbers)
- Suitable tattoo ink (black, green or white)
- Toothbrush
- Clean cloth
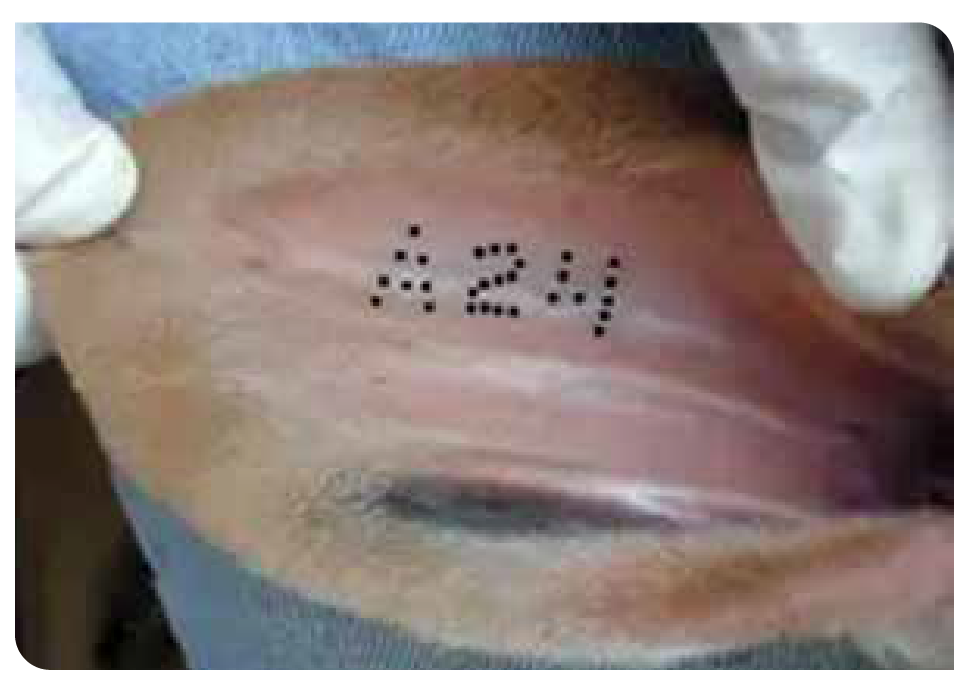
Step-by-Step Process
To tattoo your calf, follow the steps outlined below:
- Secure the calf safely. This can be done by lying the calf on its side or holding it with a nose clamp in the crush.
- Clean the inside of the ear.
- Test the loaded digits on paper. This step is very important to make sure that the tattoo is correct.
- Apply ink to the ear. Do this liberally. This is a classic case when more is more.
- Clamp the loaded tattoo applicator firmly for full penetration. Try to place the tattoo in the middle of the ear between the two main veins.
- Use the toothbrush to brush additional ink into punctures.
- Do not wipe off excess ink immediately.
There may be some bleeding from a tattoo. This is normal and the ear will heal quickly.
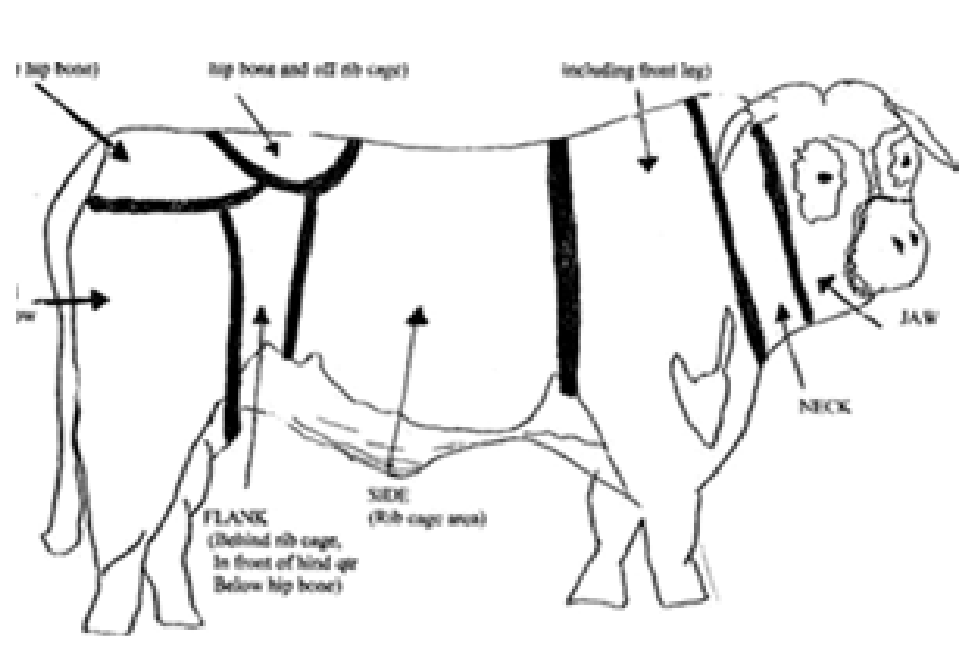
Branding
Branding must be done on the left side of your animal, either on the shoulder or on the rib/flank area. It must be clearly visible, must not overlap with any other brand and must be applied in a continuous sequence.
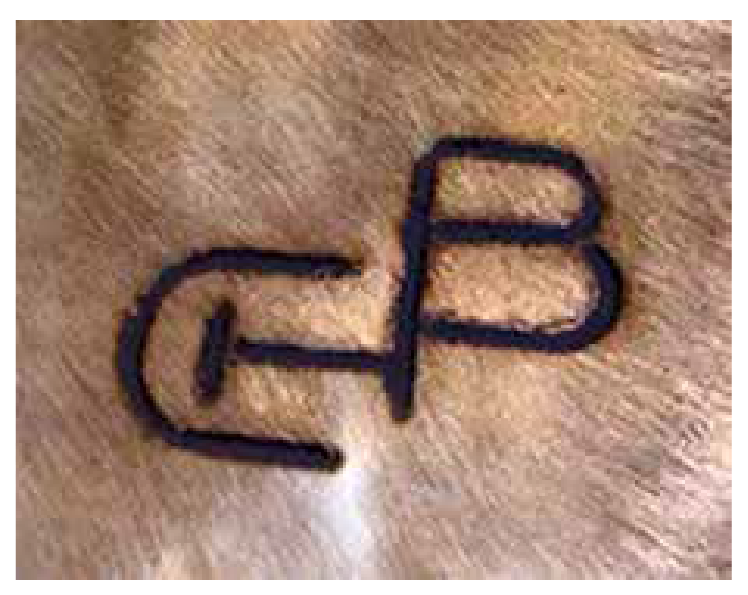
Hot Iron Branding
Hot iron branding is the most widely used permanent marking method. It is usually done from weaning onwards.
Equipment Needed
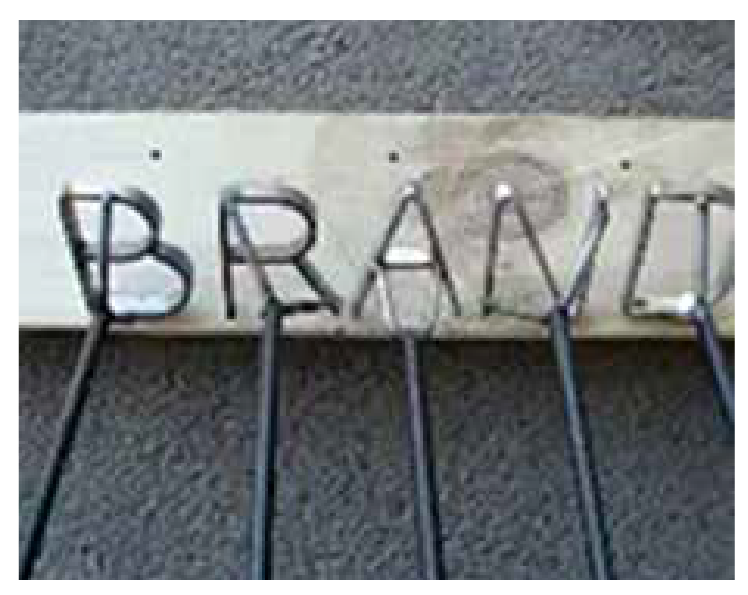
- Branding irons. These should be the letters and numbers for your registered stud and your animal’s year of birth and sequence. It is helpful to have a single branding iron made with your HDM so that this only requires a single application. If you are branding young animals, it is ideal to use smaller branding irons — the brand mark will grow with your animal. Branding irons should ideally be stainless steel. Rounded branding irons brand a larger surface area, while flat edged branding irons tend to provide finer brands.
- Heating source (gas, charcoal or fire). A branding oven that works with a gas bottle works well. It is great to have a larger oven so that you can heat several irons at the same time.
- Strong crush with neck/body clamp.
- Immobiliser. This is highly recommended as it assists in keeping the animal relatively still when the hot irons are applied.
- Water or ice packs to cool the brand off after the iron has been applied.
Step-by-Step Process
Hot brand your animal by following these steps. Start at the bottom of the area to be branded and work upwards.
- Do not brand wet animals. If it is raining, leave the branding for another day.
- Secure the animal in the crush and use the immobiliser.
- Heat irons properly. You can test whether they are hot enough by applying the hot brands to a piece of cardboard. Heat it well, then apply it to the cardboard for 1 second with light pressure. If the result is a clear, well-defined imprint without lots of smoke or any flames, then you are good to go. Remember the brand can be too cold OR too hot. A cold branding iron will mean that the brand is not clear. A branding iron that is too hot will result in severe tissue damage, extreme pain for your animal, slow healing and blotched brands.
- Apply the iron firmly for 2–3 seconds.
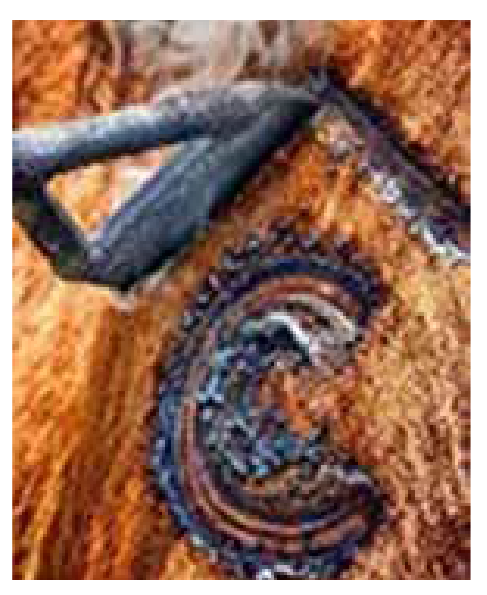
- Ensure a leather-tan coloured mark remains.
- Cool the area briefly after completion by wiping it with a cool, wet cloth or applying an ice pack. Remember, if you need to brand several letters and numbers, not to make the skin wet where the next brands will be applied.
Freeze Branding
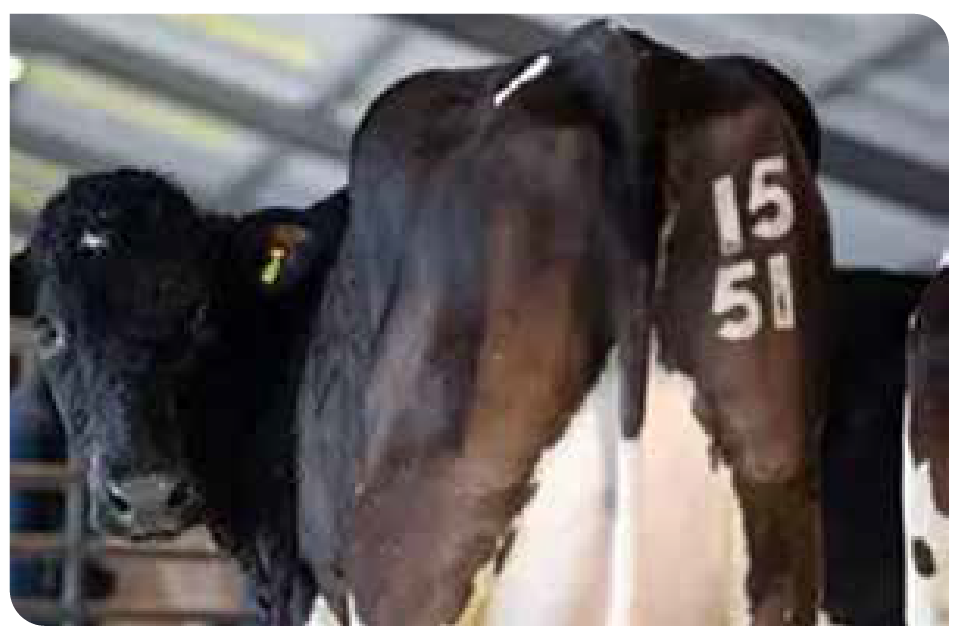
Freeze branding uses extreme cold to alter hair pigment without destroying follicles. When done correctly, hair regrows white (on dark animals) or black (on light animals).
Equipment Needed
- Copper alloy freeze branding irons.
- Hair clippers to shave the area where you intend branding.
- Liquid nitrogen or dry ice with alcohol to freeze the branding irons.
- Polystyrene container if you are using dry ice. You need to put the dry ice into the box and pour over plenty of alcohol so that the branding irons can be completely submerged and cooled down. If you are using liquid nitrogen, you can fill this box to cool the branding irons.
- Strong crush. An immobiliser can be used. Freeze branding is much less painful for the animal but does require that the branding iron be held in place much longer.
Step-by-Step Process
Follow this process to freeze brand your animals:
- Cool irons fully in liquid nitrogen or a dry ice mixture in your polystyrene box. This can take as long as half an hour.
- Clip the hair in the area that you want to brand very short with the hair clippers.
- Clean and wet the area with alcohol.
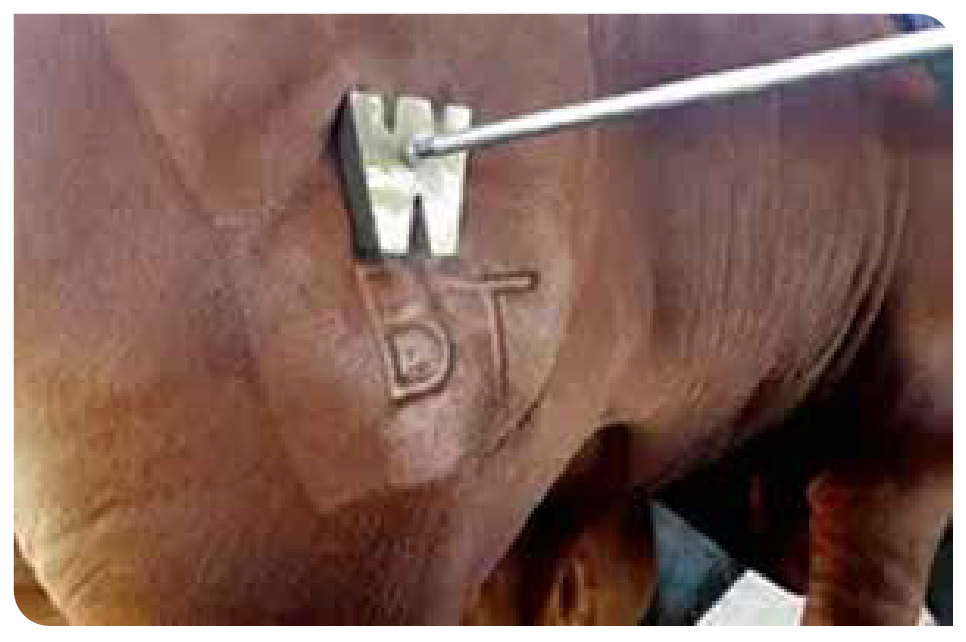
- Apply the cold iron firmly for 30–45 seconds. You will know when the branding iron is cold enough when it is fully frosted and white. It may even have a layer of frost on it. If you take it out of the liquid nitrogen or dry ice mixture and the frost forms quickly, then you are good to go.
- Do not reposition once removed.
- Expect the colour change after several weeks.
Effective marking of your animals is both a legal requirement and a way to protect your investment. It supports breed integrity and helps you, an inspector and a prospective purchaser to always be able to identify your animal.
If you are not comfortable branding your animals, speak with your local vet. They will be able to help you with this process.